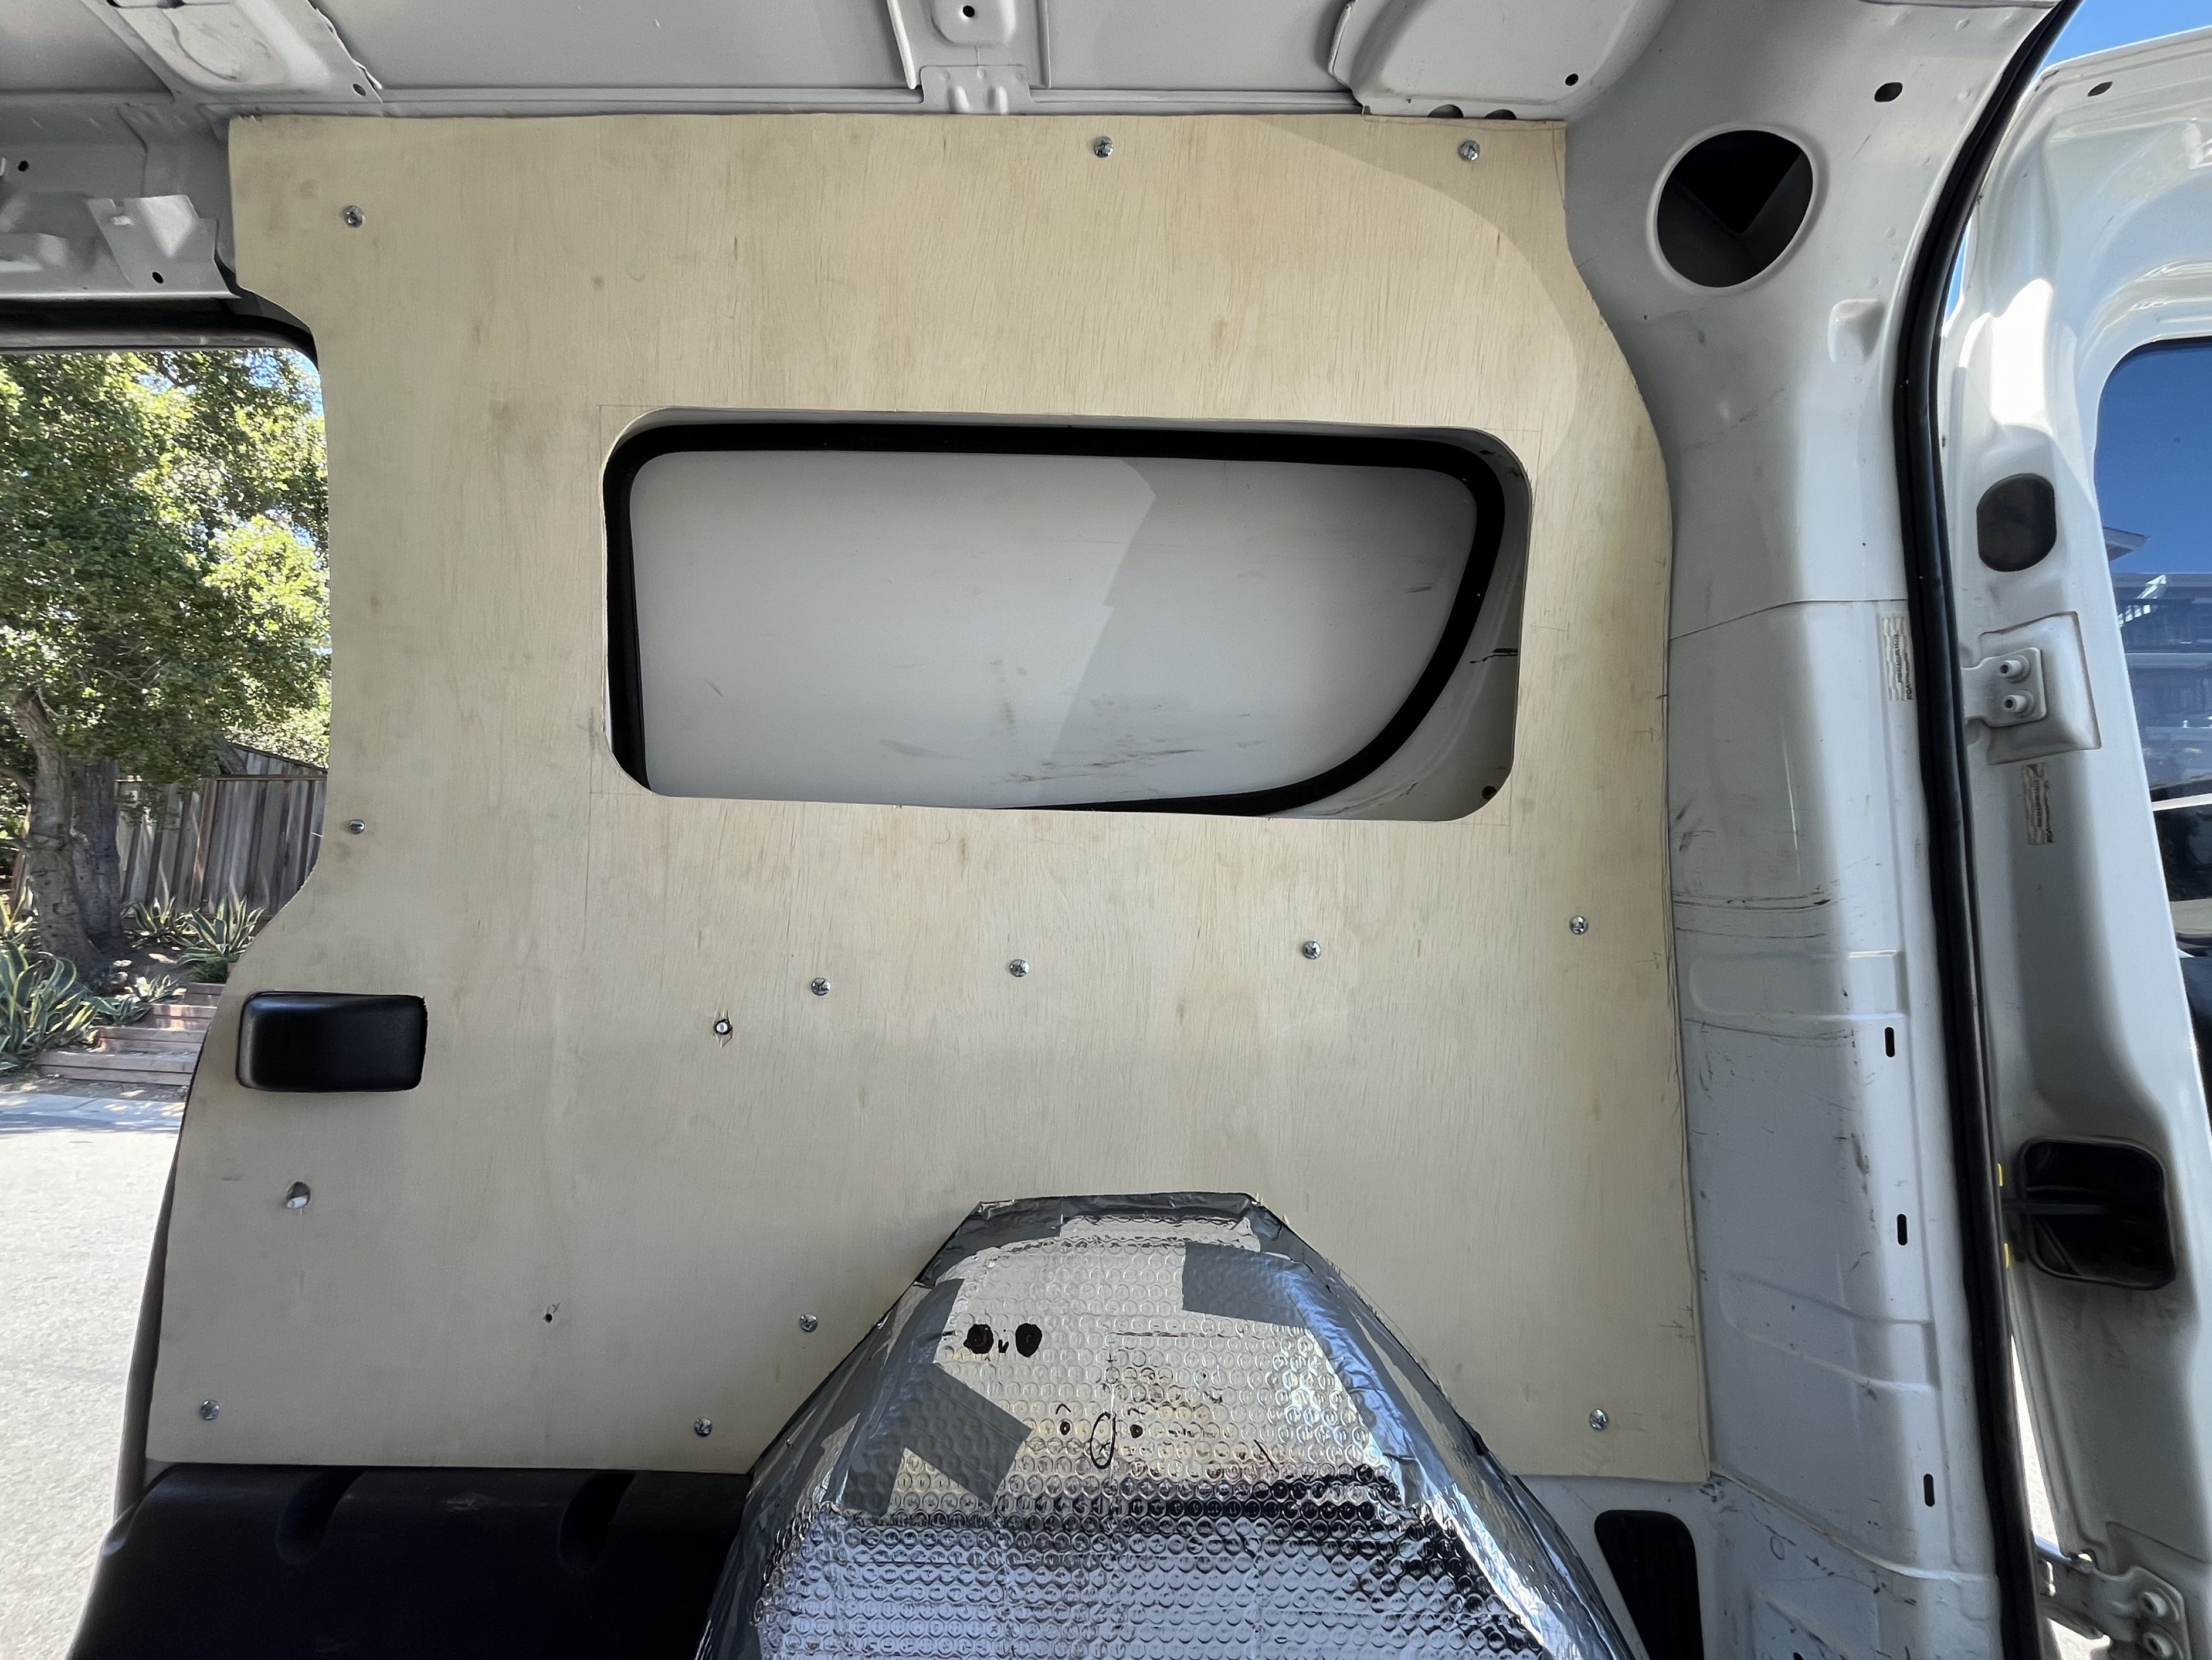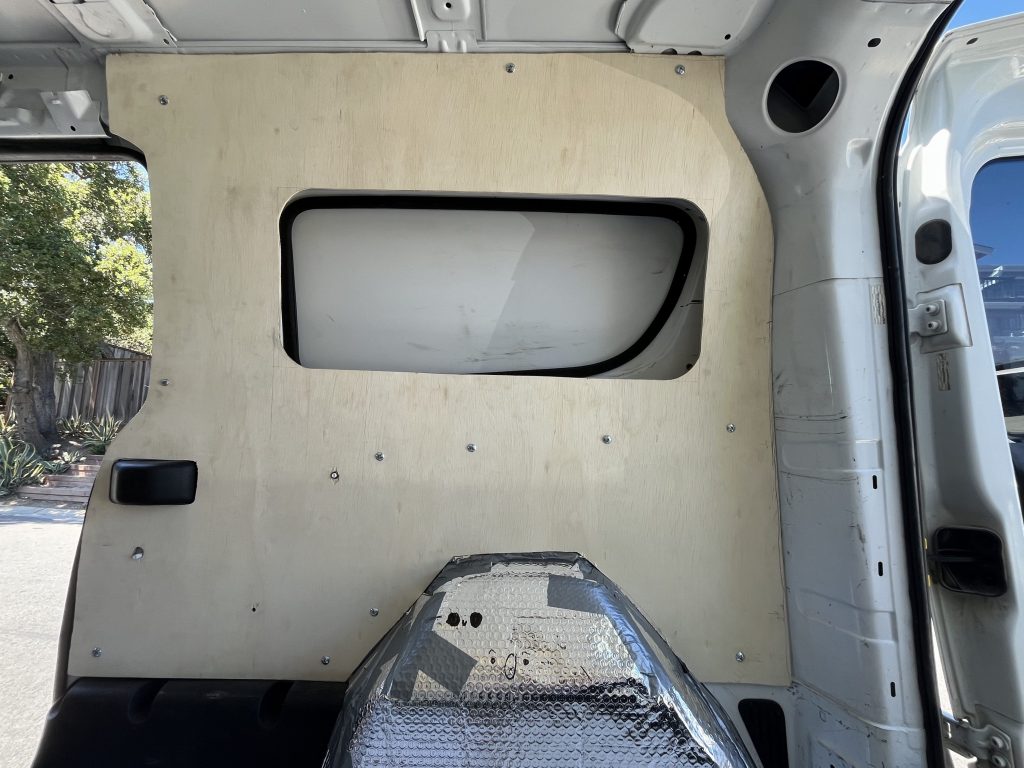
This was the first really big project of the van. Once again, I turned to the internet for ideas and instructions. Once again, the standard way of doing things for big vans wasn’t gonna work so well for me. Framing things out with 2x4s and then putting up walls on top would be giving up lots of precious space for insulation and wires. I decided that instead, I would make upholstered wall panels and screw them into the van walls.
Ok, that’s a simple enough plan, until you remember that the walls are crazy shapes, aren’t even flat, and have nowhere to screw into. So there were some problems to solve.
Step one was to make a piece of plywood that fits the irregular, curved shape of the van. To make my life even harder, the two sides aren’t symmetrical. I started by making cardboard cutouts to match the walls. That meant making a rectangle with approximately the right dimensions and then doing many, many rounds of sketching places to cut, taking the cardboard down, cutting, and putting the cardboard back up again.
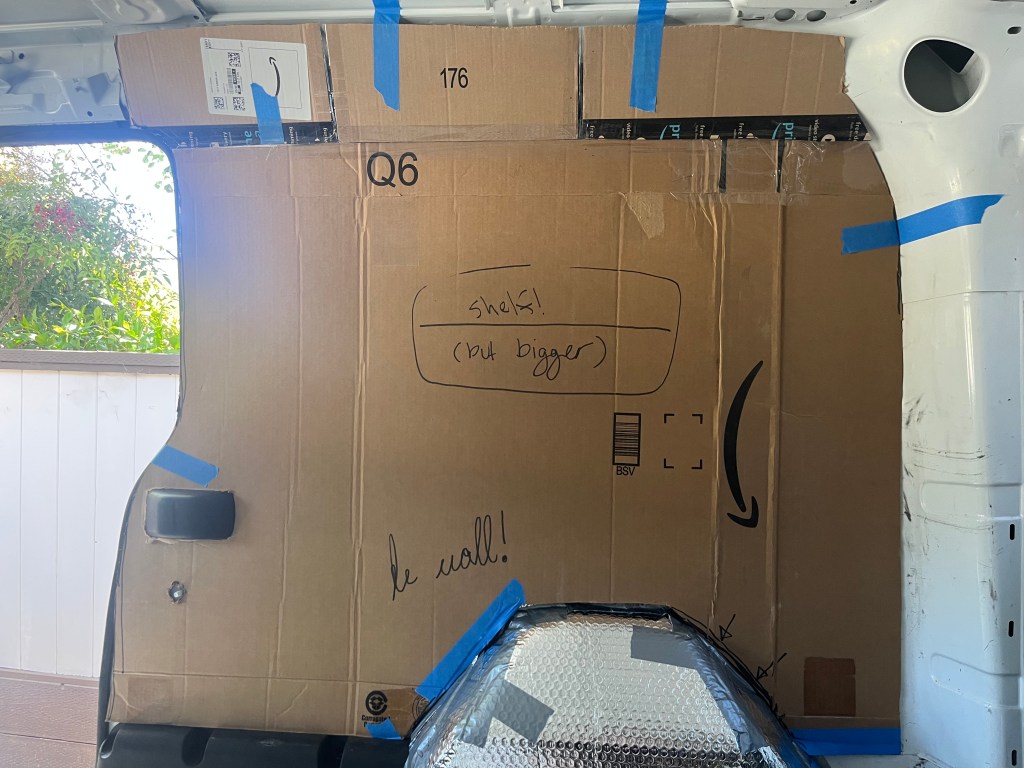
Eventually I was happy with the fit of both cardboard walls, so I moved onto plywood. I chose 1/4″ plywood because it flexes more to fit the curve, because the walls aren’t going to be majorly load-bearing, and because lighter is always better. I went through the sketch, cut, fit cycle a few more times until the plywood fit right.
Next up, something to screw into: I was introduced to the magical world of rivet nuts (aka rivnuts). These clever little pieces of hardware can get installed into sheet metal and provide threads you can put a machine screw into. I made or widened holes in a bunch of places in the wall of the van, making sure I wasn’t making any holes to the outside.
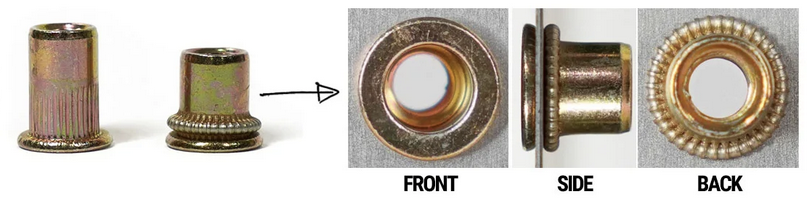
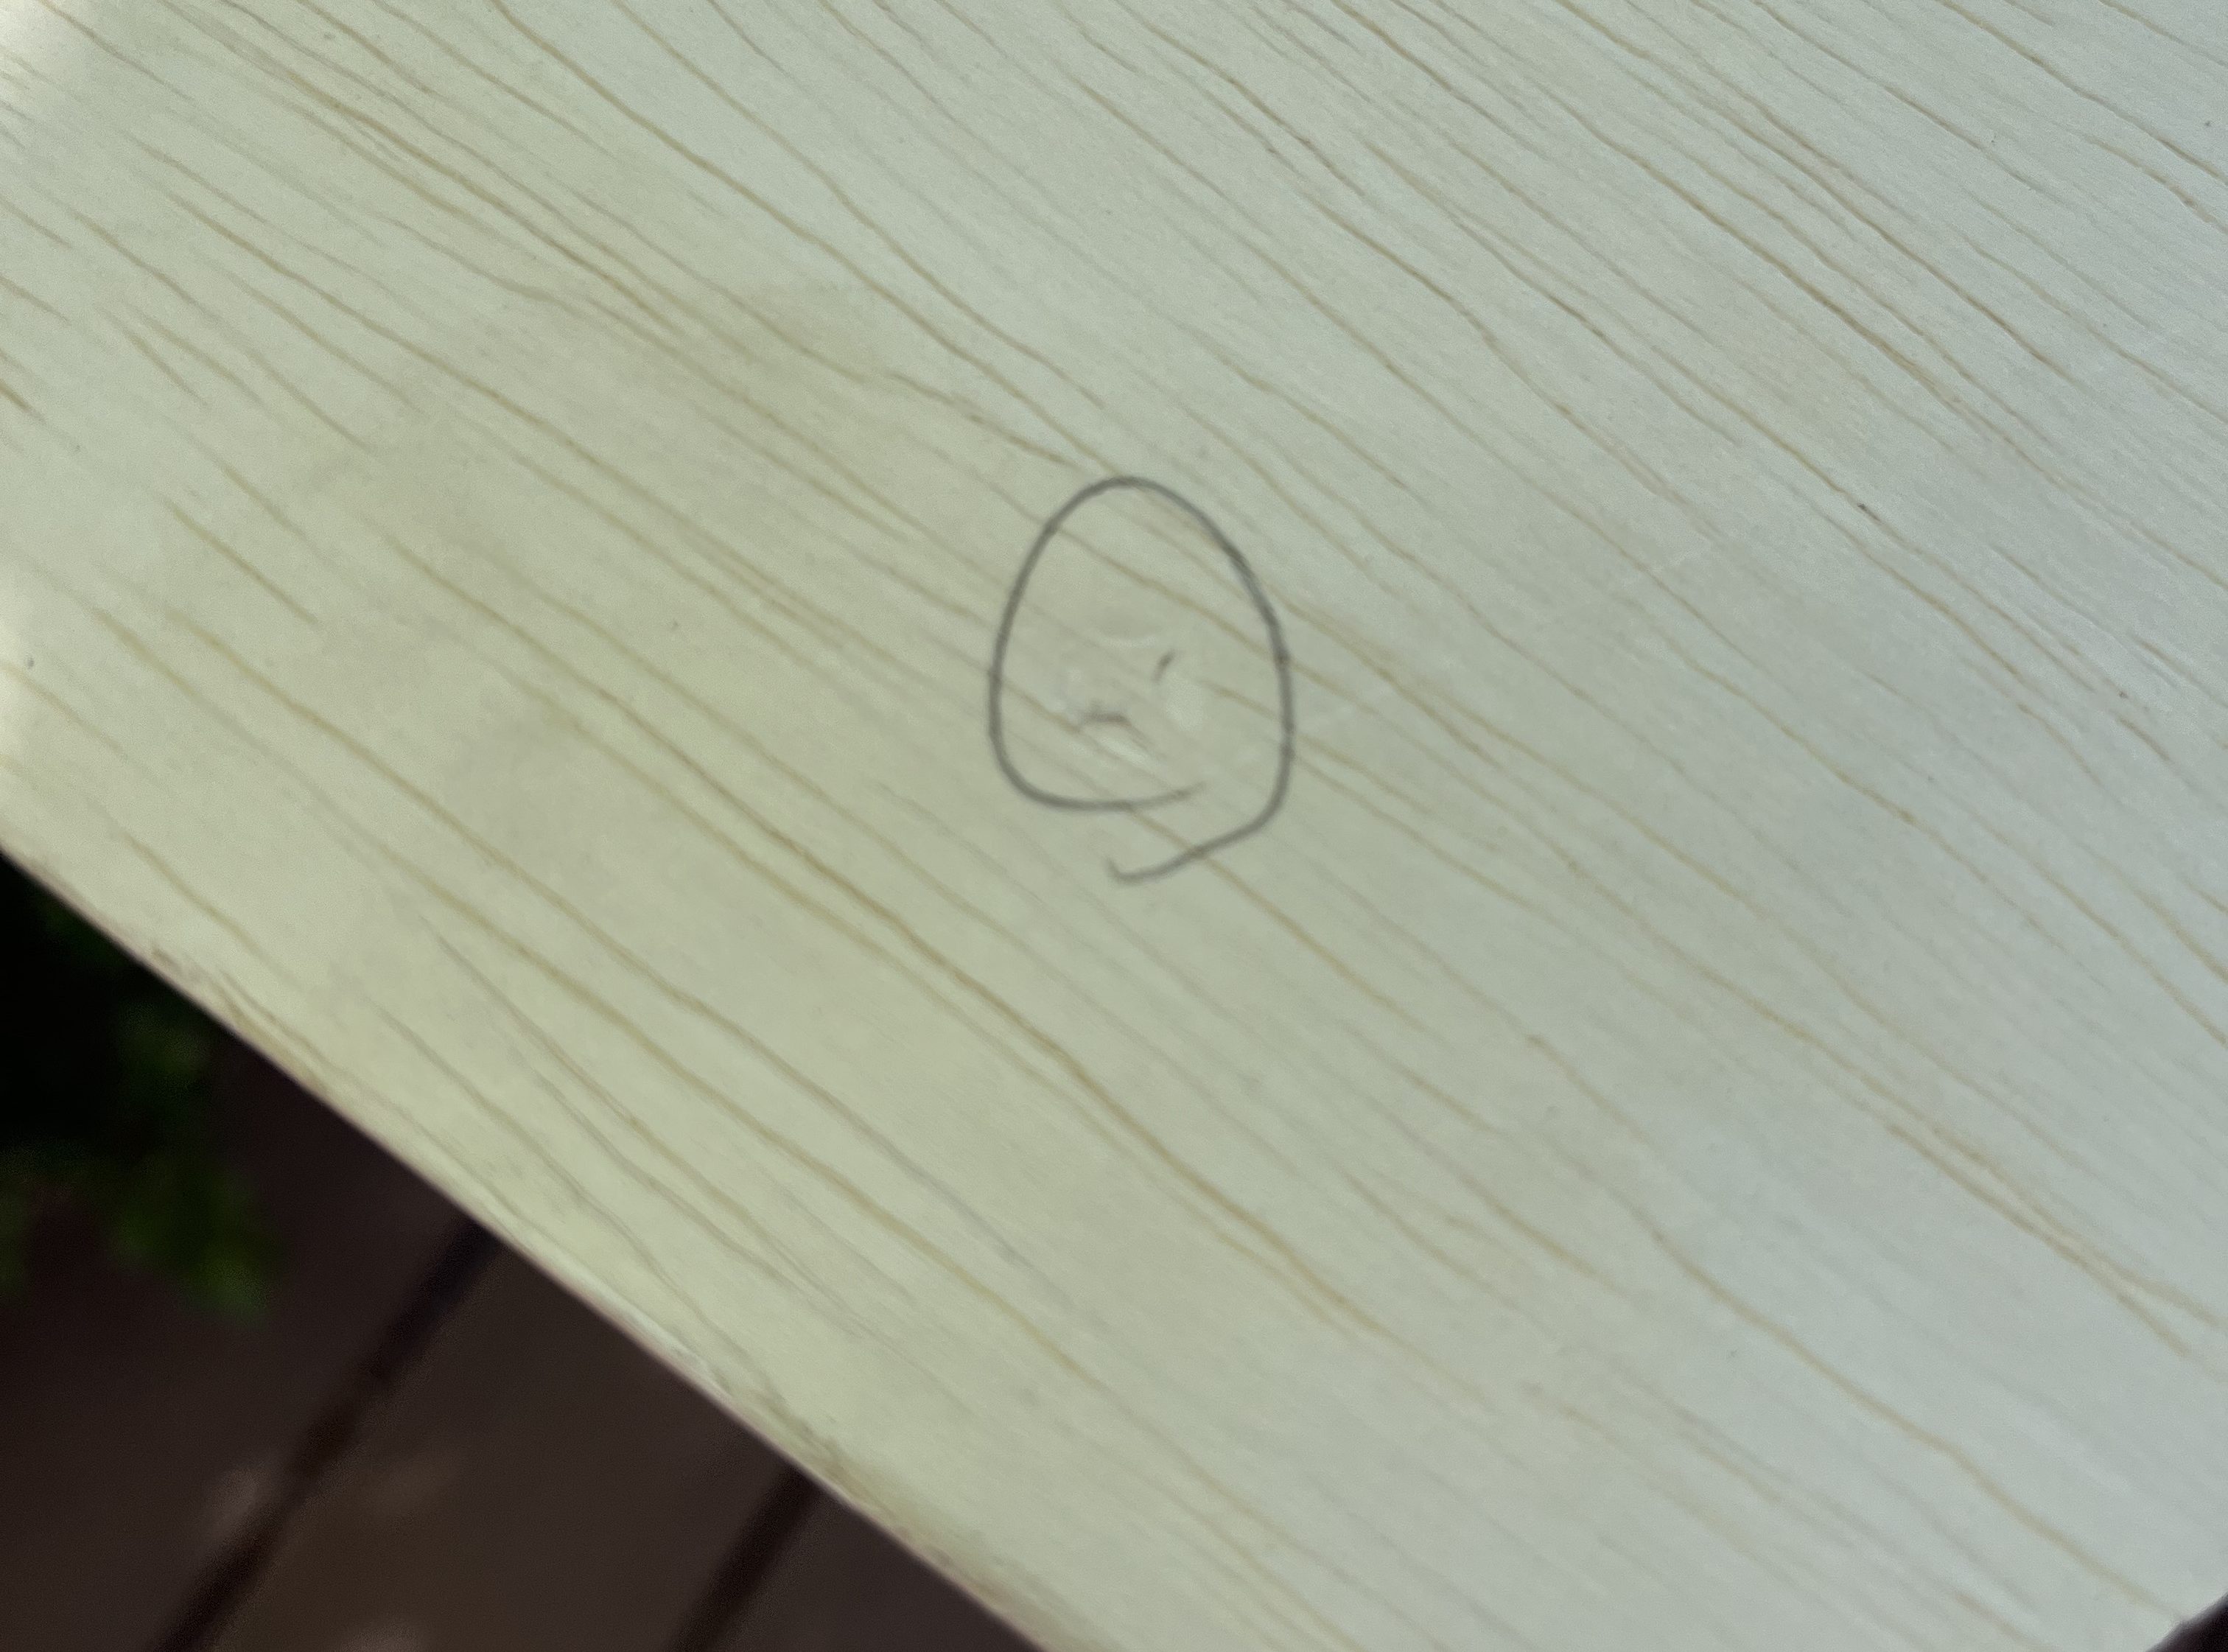
Ok great. I have wall panels and places to screw into. Now I need holes in the panels in the right places so I can put screws through. Without anything to measure off of and without a regular pattern of rivnut locations, this was not trivial. I came up with an idea that I thought would mostly work, but would probably take a few rounds of edits. I decided to put phillips head screws in each of the rivnuts, locate the panels to where I wanted them to sit, and then press them hard against the walls. The top layer of my plywood was quite soft, so I was hoping the screws would imprint on the wood and show me where to drill holes. That idea worked perfectly. All of the holes I drilled lined up with my rivnut locations, and I was able to put the walls up first try.